

Three things you need to make for your room this year
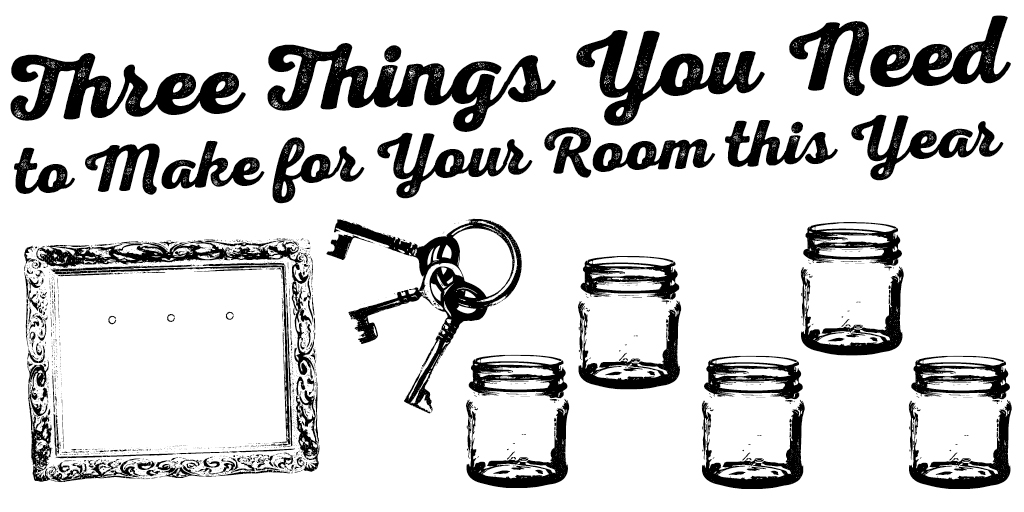
Move in day has happened and you’re noticing there’s some things missing in your dorm. You need something to keep you organized and on track. Worry not, the Interrobang included the instructions for three easy-to-make DIY items to have in your room this year.
Key holder
You will need:
A small wooden picture frame without the inside or backing, acrylic paint, a paintbrush and four screw eye hooks.
Directions:
1. Start by taking out the plastic or glass centre of the frame if it has any, as you will not be needing it.
2. Paint the frame with the colour of your choice. Add as many coats as needed and allow drying time in between.
3. When the frame is completely dry, position the frame so that the longest side is placed horizontally.
4. Space the four screw eyes hooks equidistant from each other at the inside of the frame along the top.
5. Screw the hooks in so that the hook faces forward. Ta-da! The perfect key holder is complete, so you now always know where your keys are before you leave the house.
Paint chip calendar
You will need:
One large picture frame, 42 paper paint swatches of different colours, a piece of white cardstock the same size as the picture frame, double-sided tape, scissors, a ruler and a dry erase marker.
Directions:
1. Start by removing the paper/photo from the frame. Position the white cardstock so that the longest length is positioned horizontally.
2. Measure out squares from each colour of the paint chips so that seven squares horizontally by five squares vertically fit onto the white cardstock.
3. Make sure to also leave an inch of space at the top to write the month as well as an extra couple of centimeters of space to stick rectangles in line with each column to write the days of the week.
4. When you are happy with the spacing of everything, apply double-sided tape to the back of the paint chip squares and stick them onto the white cardstock.
5. Insert into the frame. The glass/plastic front will act as a dry erase board so you can change up the calendar for each month.
You can now organize your schedule in a colourful style.
Mason jar desk organizer
You will need:
Five mason jars, a hot glue gun and hot glue sticks.
Directions:
1. Decorate the mason jars the way you would like.
2. Tip the mason jars so that they are laying on their sides.
3. Line up three so that they are parallel and touching.
4. Apply a line of glue to both sides of one middle jar and stick the other two remaining mason jars to either side.
5. Make sure all mason jars are in line and balanced equally on the surface you are using.
6. When the glue is dry and mason jars are sturdy, add the other two mason jars on top of the line of three in a pyramid-like position.
7. Apply a line of glue to the bottom of the two mason jars and stick them on top of the original three mason jars. This is the perfect organizer for your pens and pencils, highlighters, paper clips, sticky notes and the like.